
House of Lies

4 Main Elements
1. The Main Card Stack Design
2. A Card Used for Lyrics/Support Text via Projector
3. Lighting Elements
4. Interview Set & Stands
2. A Card Used for Lyrics/Support Text via Projector
3. Lighting Elements
4. Interview Set & Stands

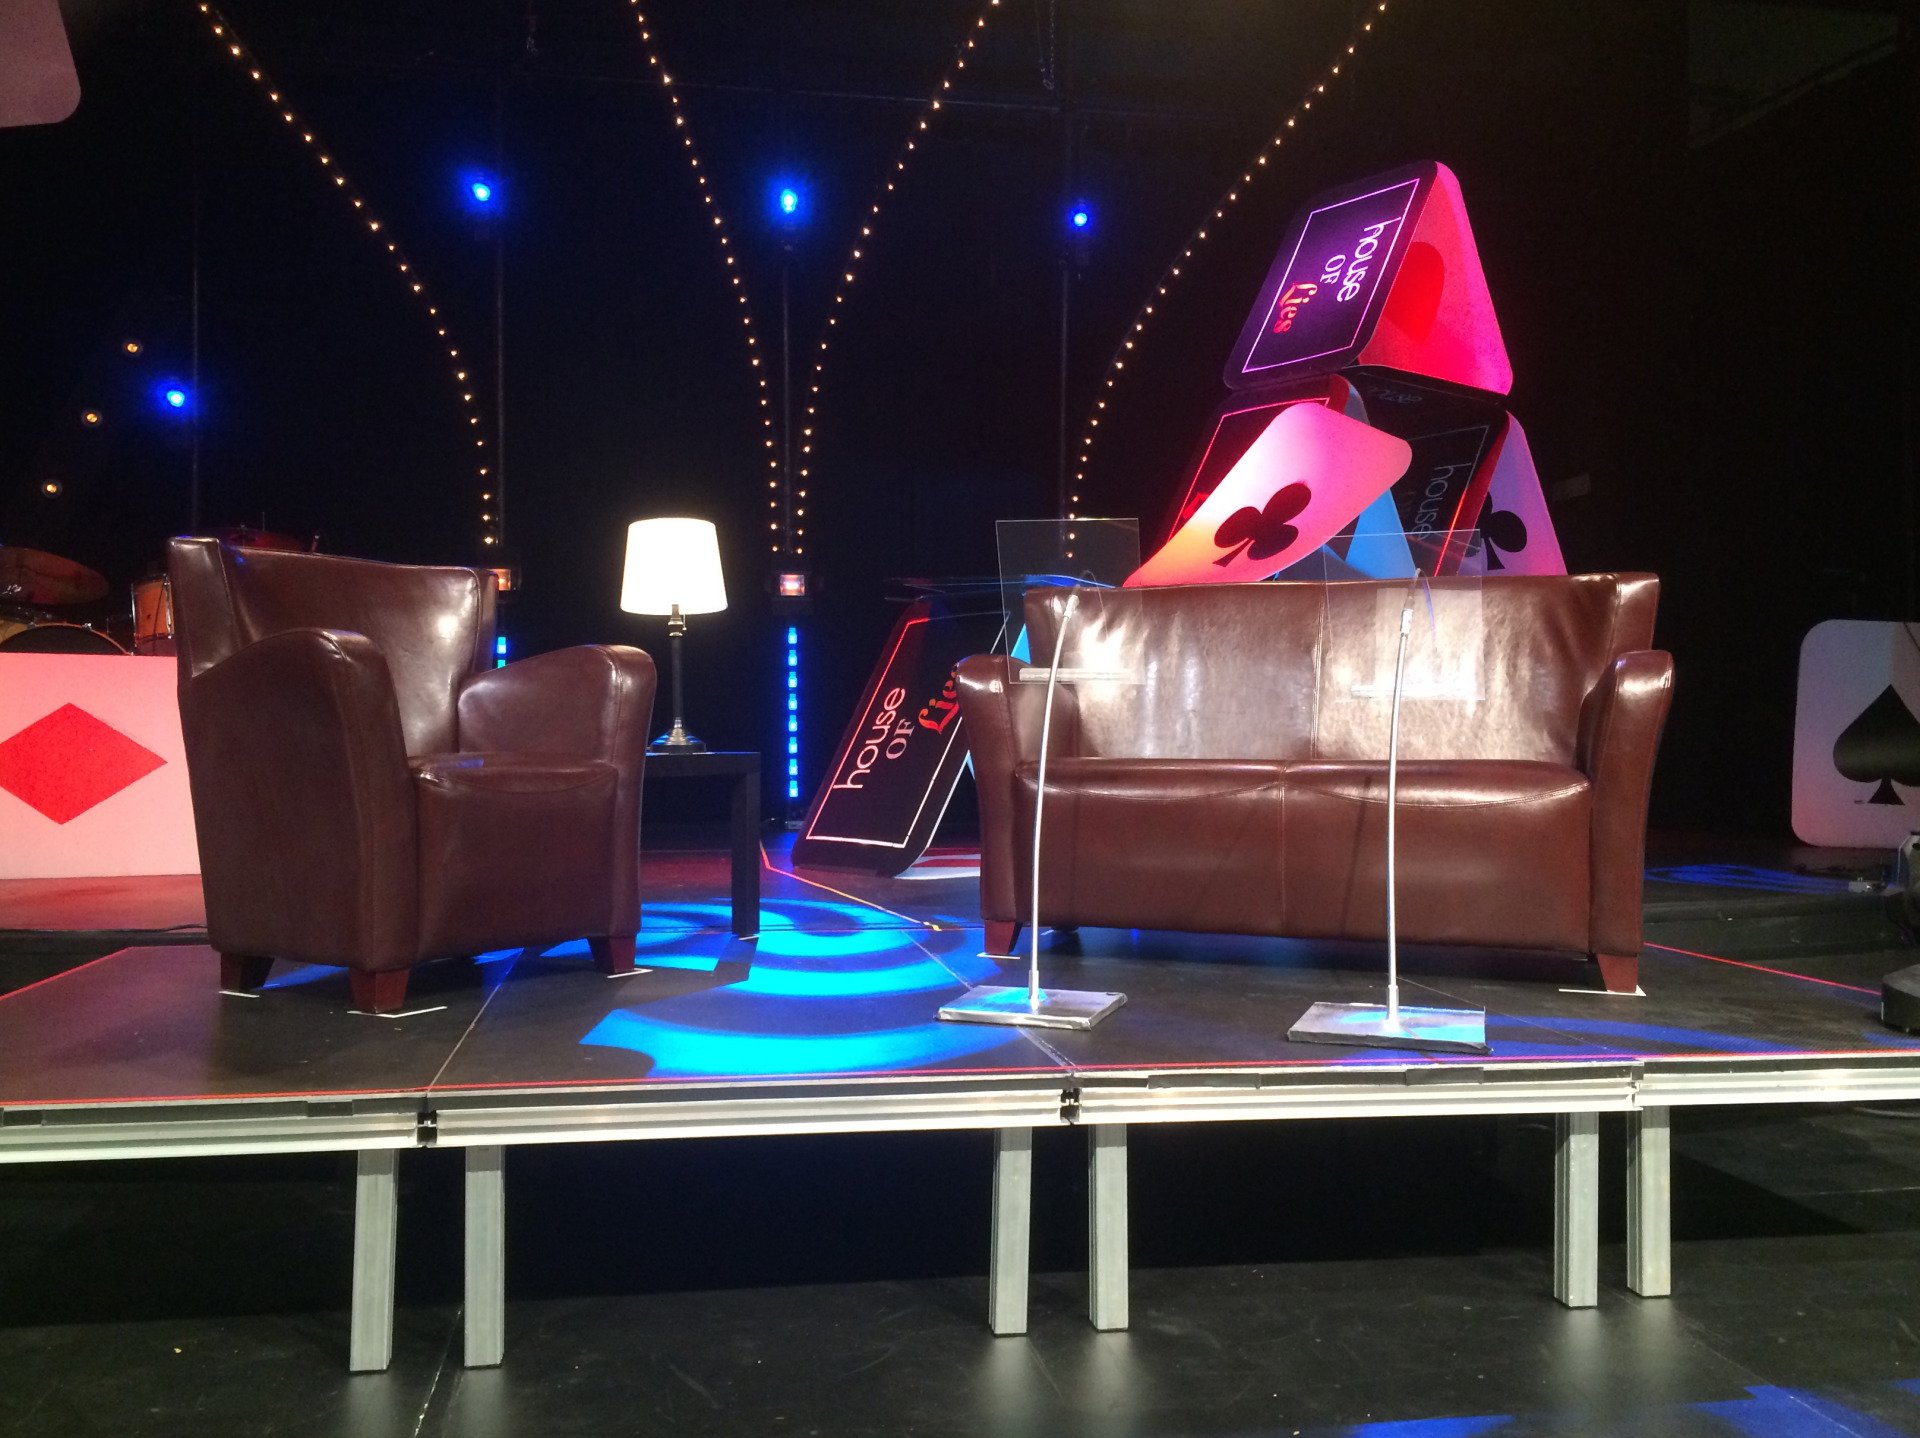
Design Cards for Stage
Cards stacked to imitate an actual house of cards falling apart. Each card was cut from 4'x8' sheets of coroplast. Each card was cut to 4'x2.6' with the corners being shaped by a charger from a place setting on a nearby table. We borrowed a paint sprayer and sprayed one side of every card black. Then we fashioned stencils from vinyl flooring sheets. We bought it as a flooring remnant. We cut out the "House of Lies" graphic and the clubs, the spades, diamonds, and hearts. For the heart, clubs, spades, and diamonds we used the commercial sprayer. For the "House of Lies" graphic we used cans of spray paint. In order to stack and build it we used square dowels painted white to stiffen the cards for stacking.

Projected Card for Visual Slide Reinforcement
We also used three of the 4'x8' sheets cut to look like a giant card and glued together for thickness to create a projection surface. This created a giant virtual card hung at the top of the stage to look like a card falling at an angle. We used a projector with corner correction on all three corners to map the card image to the giant card.

Lighting Element
At the center of the stage there were four lighting strips. We had built them for Christmas Eve 2014 and repurposed them for this application. The two boards with mr16 bulbs at an angle both left and right to create a uniform look. Then we spread out in four layers...two on the floor and two on over-stage electrics a number of scanners and moving heads to create the arial and beam FX. Finally we used our chauvet tri-color 12's for downlighting the main card structure. Then we used a couple of colorstrip mini's and a single colorstrip in order to light the lower inside of the card structure.
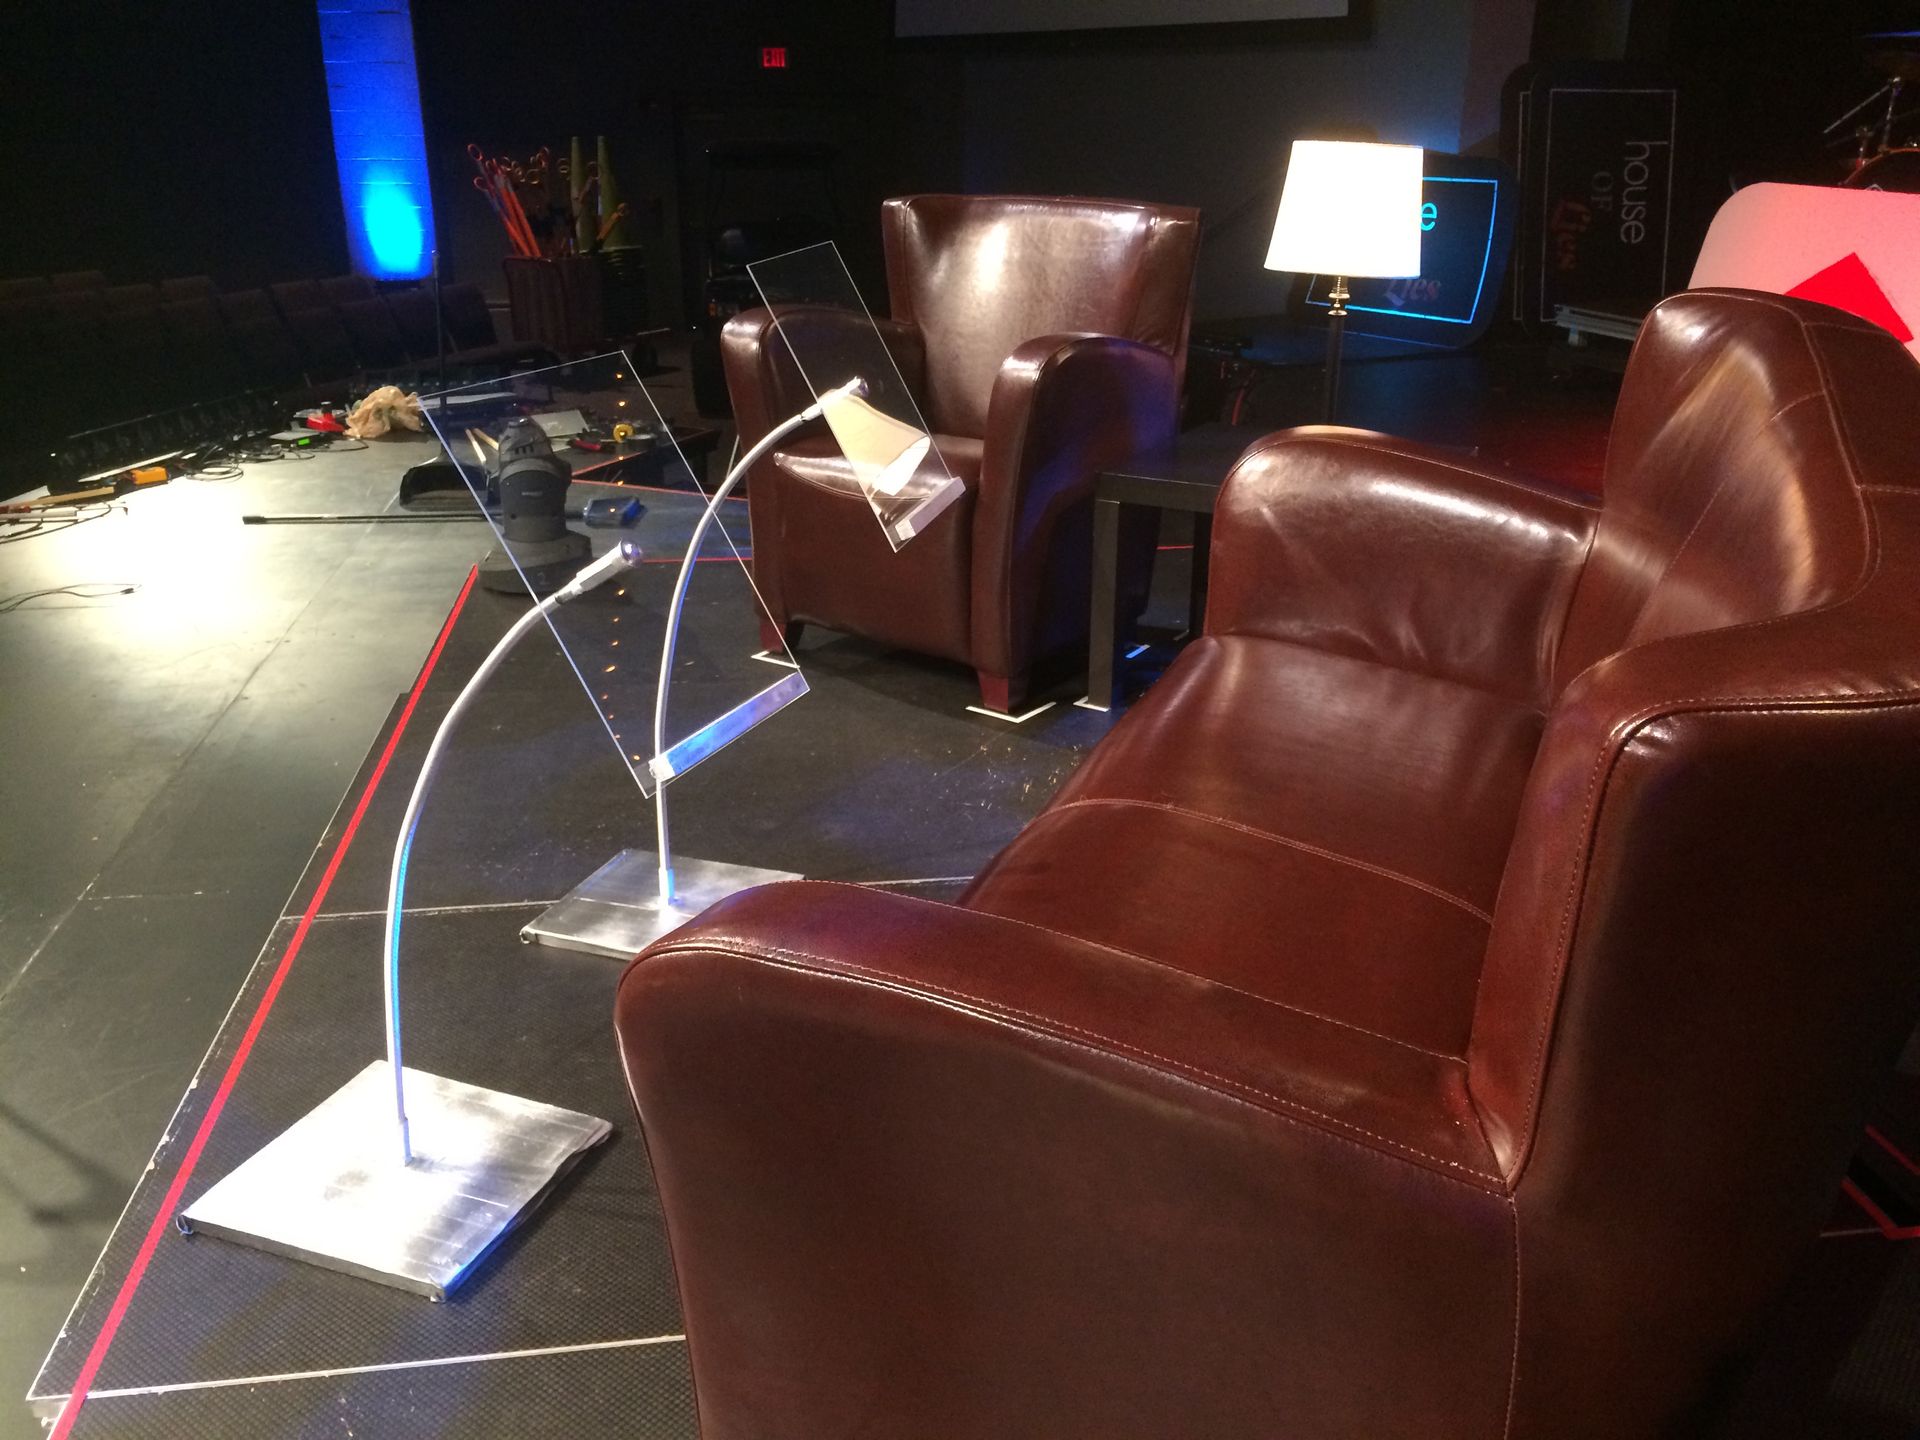
Stands for Interview Set
For weeks 4 through 6 we had interviews and wanted to have the feeling of a living-room. The interview setting was designed for there to be minimal notes or electronic notes only. However, the couple being interviewed the first week said they needed a stand.
In that light...we designed a couple of stands specifically to match this set design. Two bases made of 3/4" plywood. Then a length of 1/2" all-thread attached to the base via a 1/2" bolt poking up through the base tightened to the base via 2" coupling nut. 1/2" all-thread connects to the coupling nut then I bent the all-thread to the angel we wanted for the stand. We used a couple of 11" x 14" Lexan sheets as the surface for the stands. We drilled a hole in the center of the stand top using a small bit to start the hole and then a conical sanding stone to enlarge the hole.for a 1/2" bolt. So we put a bolt through the lexan and on the other side used a 1/2" spacer made of 1/2" PVC pipe then tightened with a coupling nut. Once assembled we just attached the top to the end of the all-thread. Finally we used a length of 1/2" square dowel rod as the catch for the paper to rest on.
The base, all-thread, and catch were all painted bright silver.